A flower based challenge from Aurifil for this month gave me the chance to try out their gorgeous variegated threads.
The completed embroidery with its silk painted base setting off the stitched flower and buds
I love to use these shaded threads as they have beautiful subtle colour and tone changes. It was certainly a challenge making sure the right colours sat in the right place on these rose petals with their gentle curves!
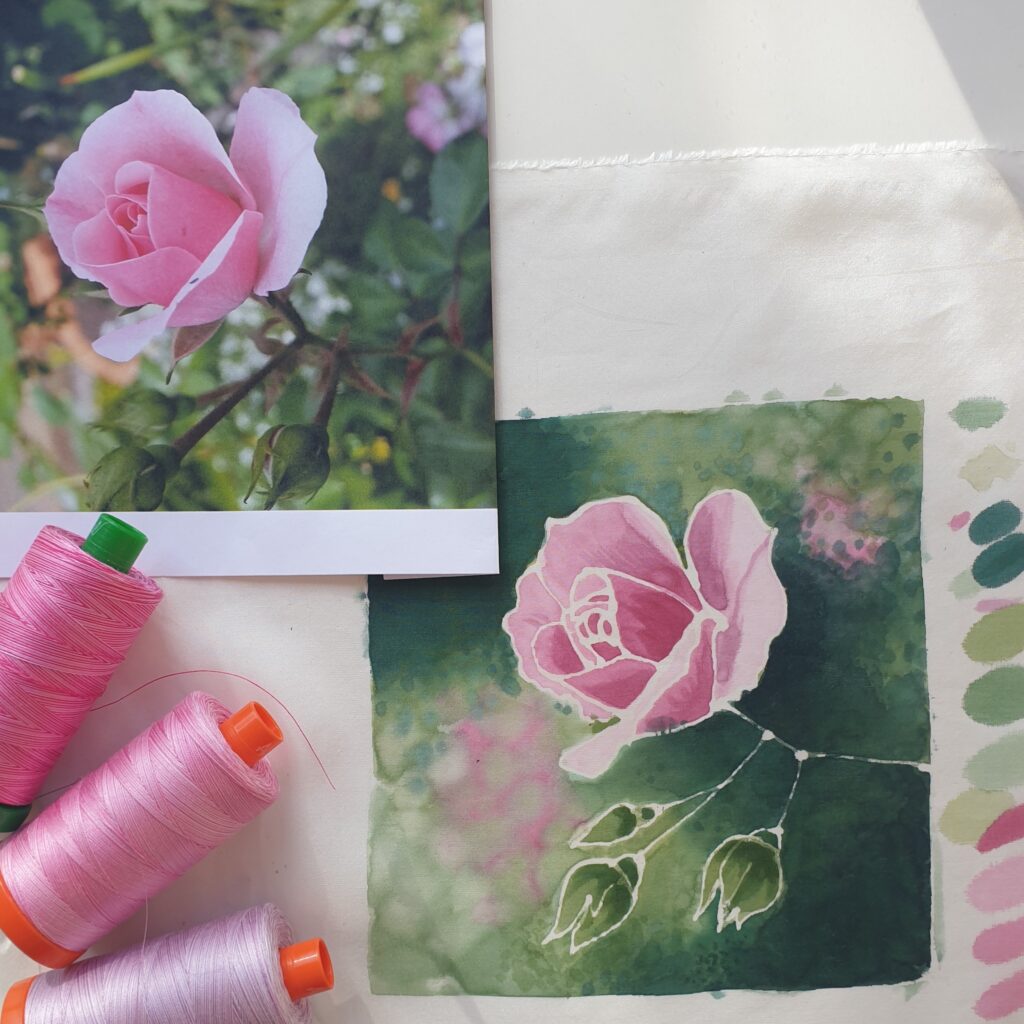
Source photo, silk painted base and Aurifil cotton threads numbers 3660, 4660 and 3840
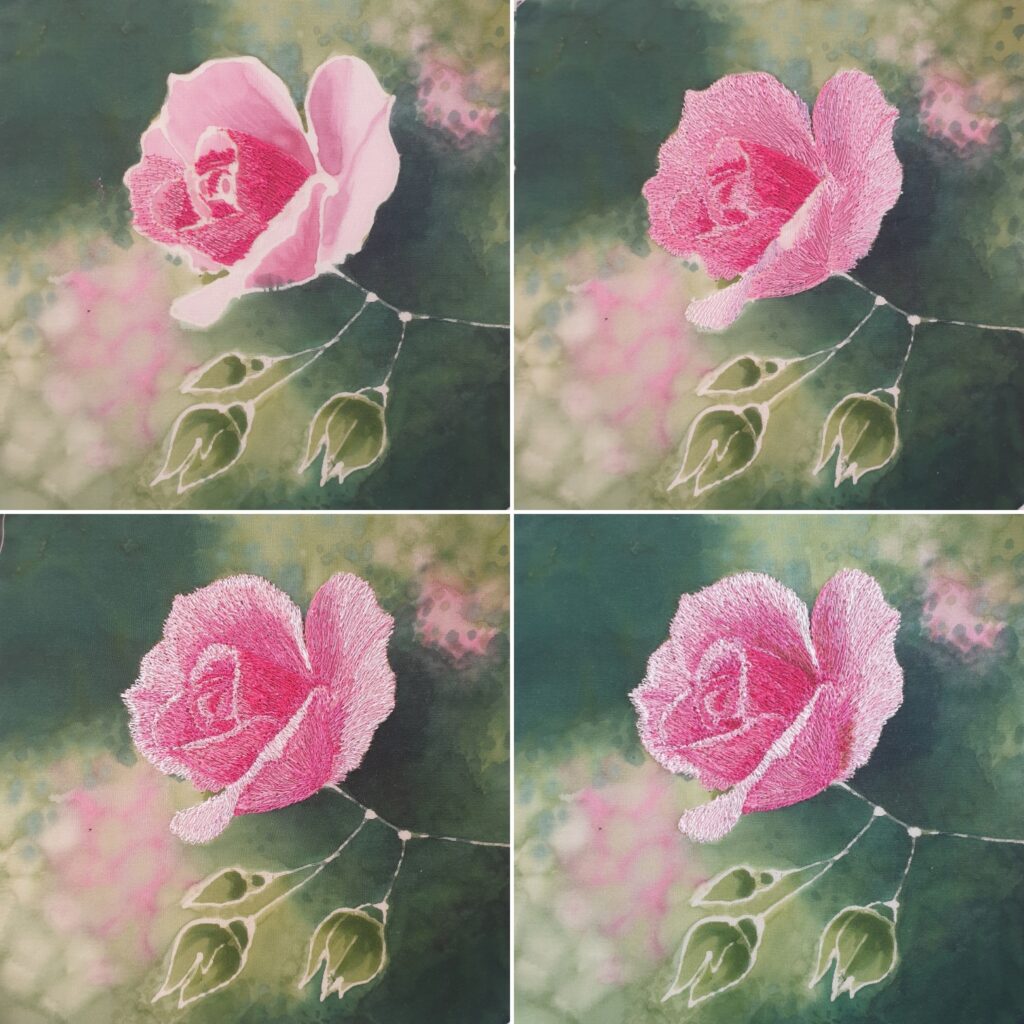
As you can see by these step by step photographs these threads can work really well. To give more definition and increase the tonal range the final stitching was white thread. It really brings out the highlights and makes the image pop! As always I used a wide tonal range to give a 3 dimension effect.
4 stages showing the colours and details slowly building up
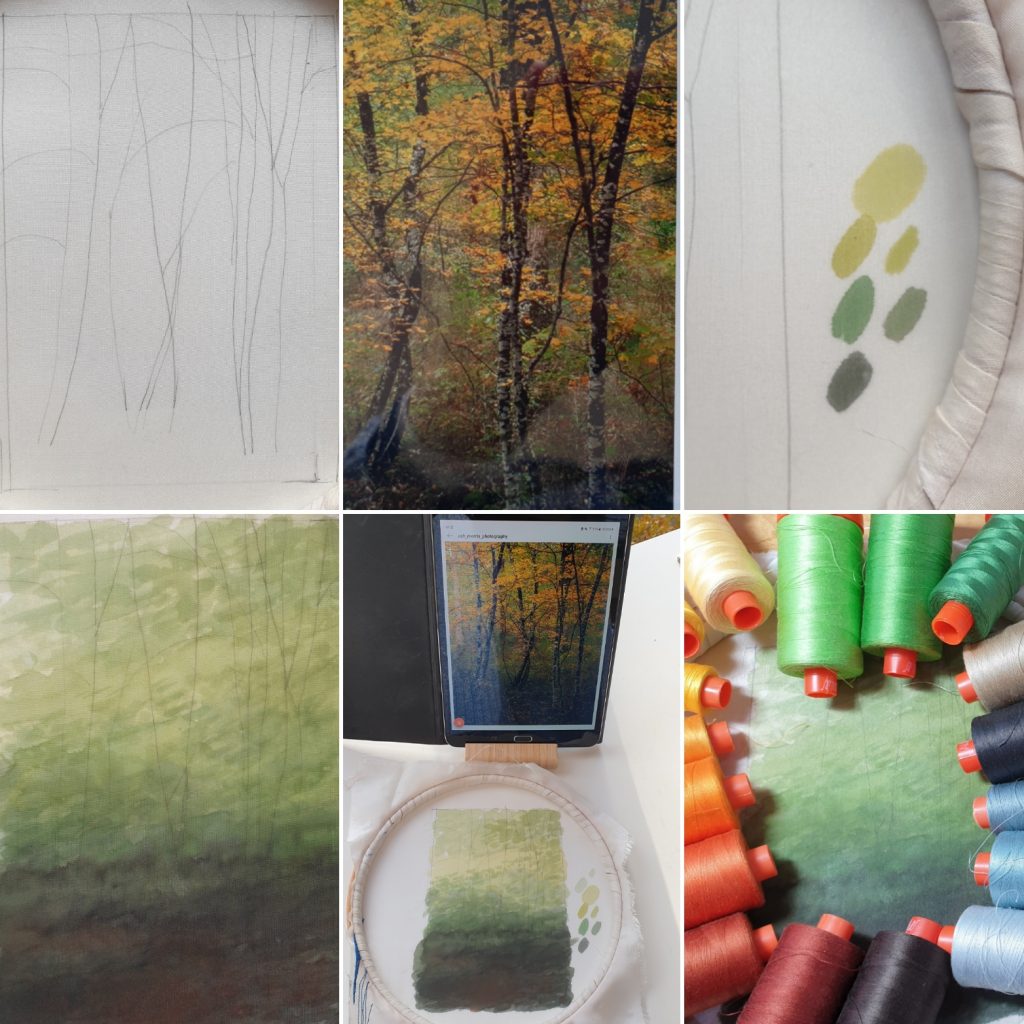
For every picture I create being inspired is always the starting point. I always work from a photograph, usually my own but this piece is based on a photograph by Ashley Morris. He used to be be my next door neighbour, he now lives in France and takes beautiful photographs. I asked his permission to use this one as my starting point
It was the combination of colours and atmosphere in the scene that made me want to capture it in stitch.
As usual I started by make decisions about the size, format and composition and then the creative process can follow. I am quite organised in my studio (if a little messy at times) and for me that makes the creative process flow more smoothly.
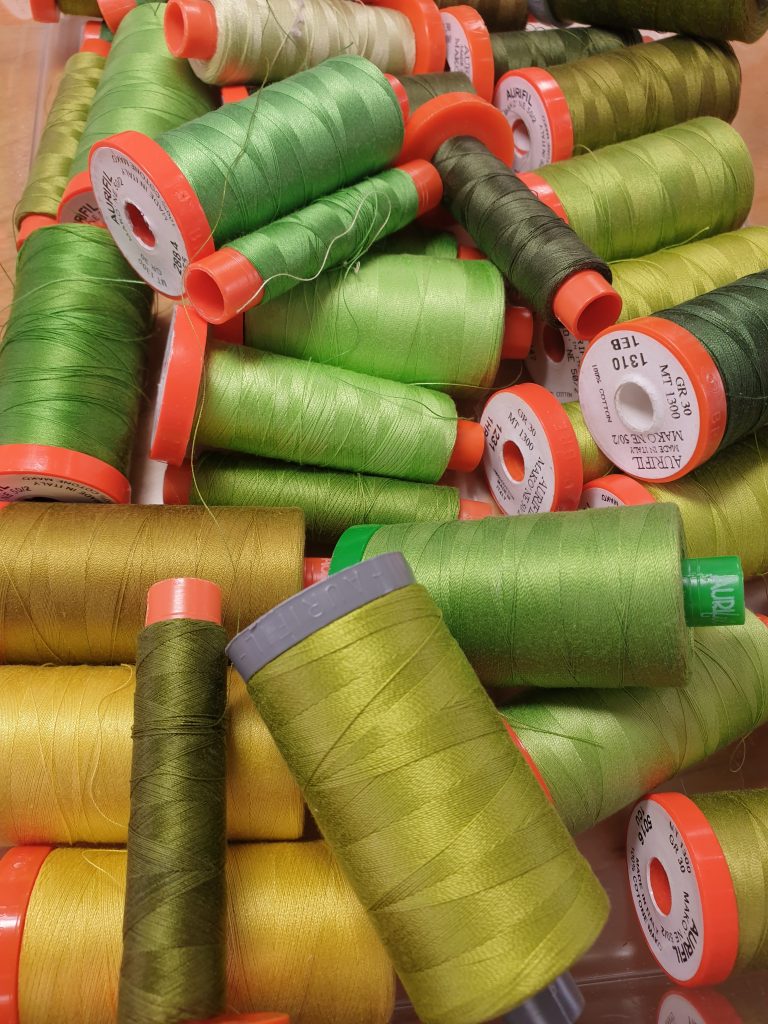
Aurfils fantastic range of greens
I keep my threads organised together in colour ranges making it easy to select the ones I need for each project I use my source photo, often on my tablet, for reference
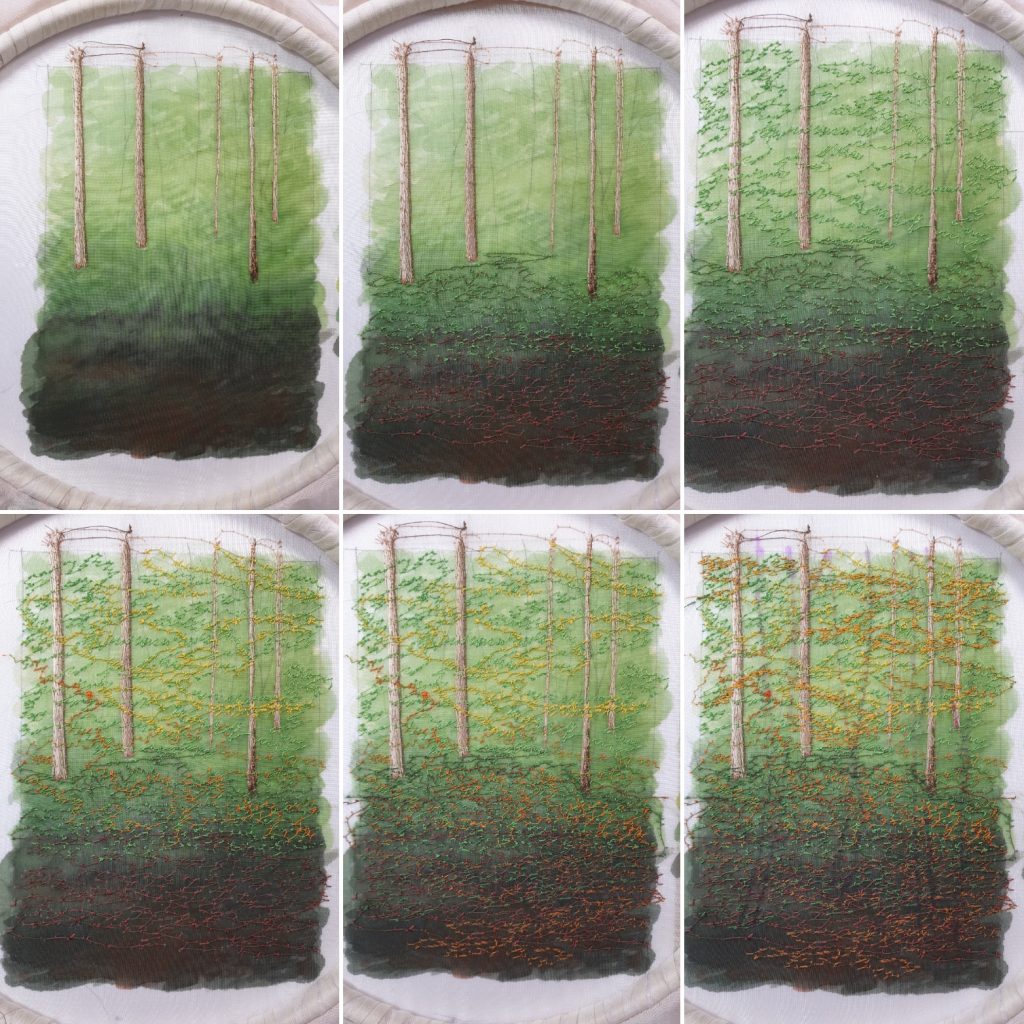
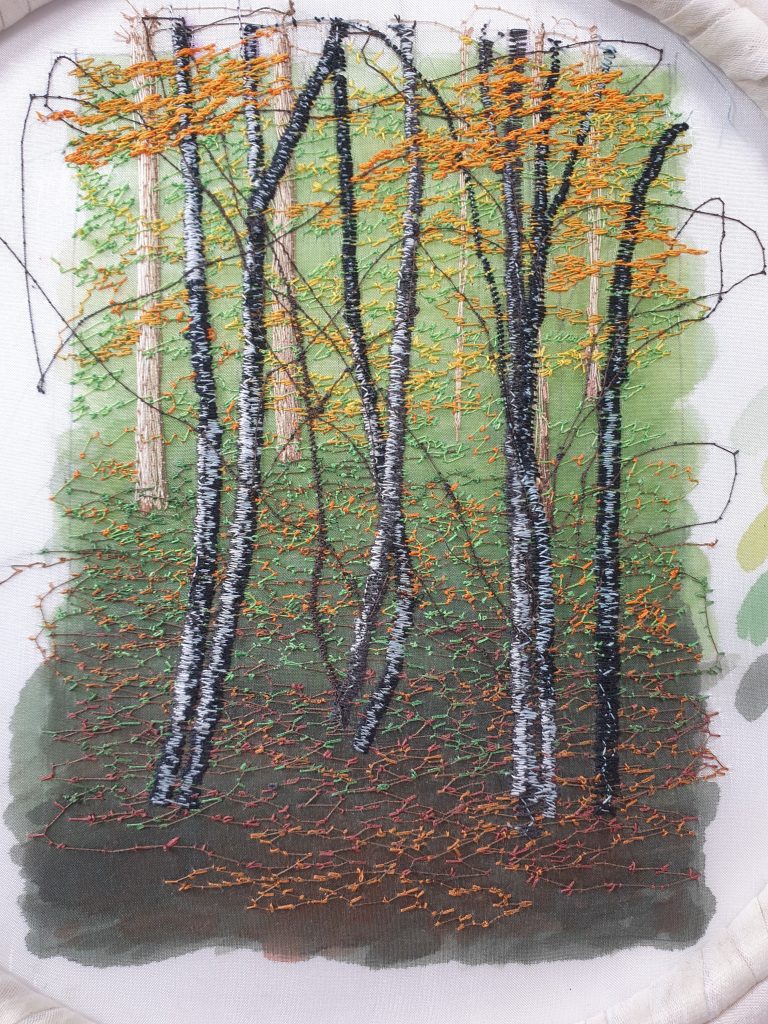
1. The drawing on the silk 2. The source photo 3. Testing my silk paint colours before I start 4. The completed base painting 5. Comparing the photo and the background painting 6. My selection of Aurifil 50 Mako 6 stages of stitching from background towards foreground layering the stitches as I progress. Zigzag stitches form the silver birch tree trunks and straight stitch for the branches
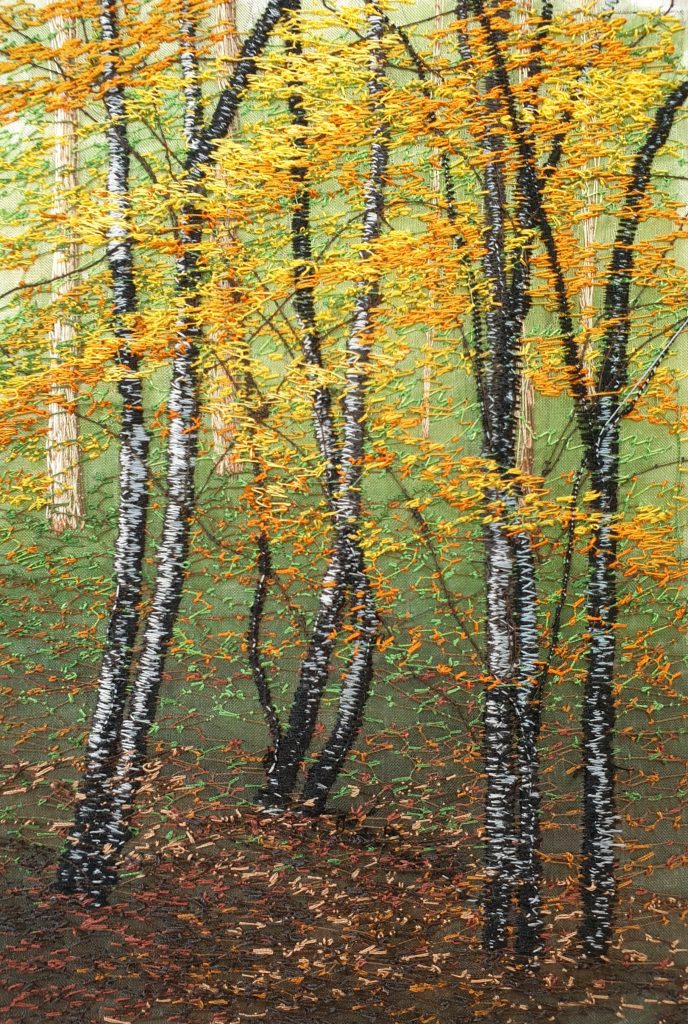
The completed embroidery with yellow and orange zigzag for the leaves
Its always a pleasure to create another project for my Aurifil Artisan group. This month is an easy brief, a seasonal project. It seemed obvious to me it had to a snow scene! I have been experimenting with contre jour and finding ways in paint and stitch of creating that illusion of light breaking through the landscape.
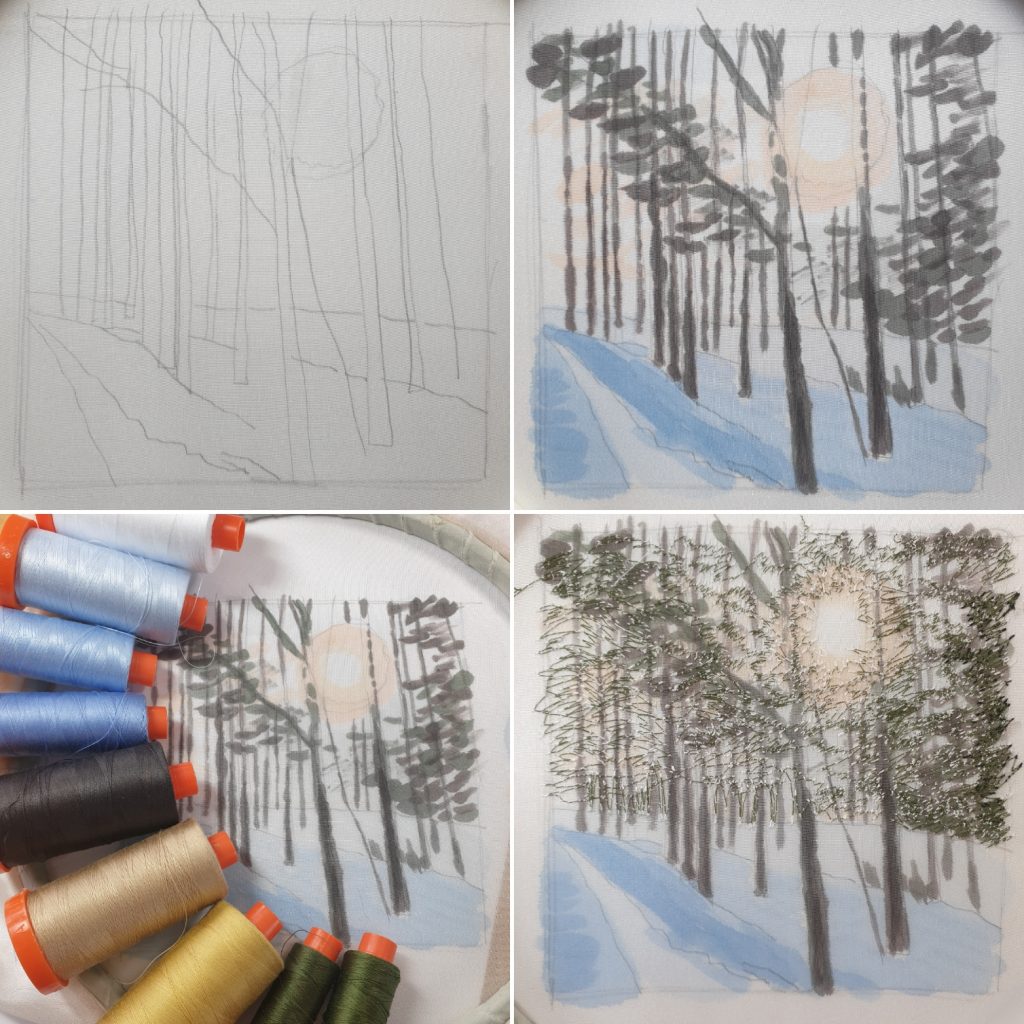
The first stages show 1. My drawing on silk using a textile pencil for guidelines and gutta for the frame. 2. The sketchy painting to give some background colour and structure to the composition. 3. Choosing my range of threads. 4. The first few stitches for distant foliage.
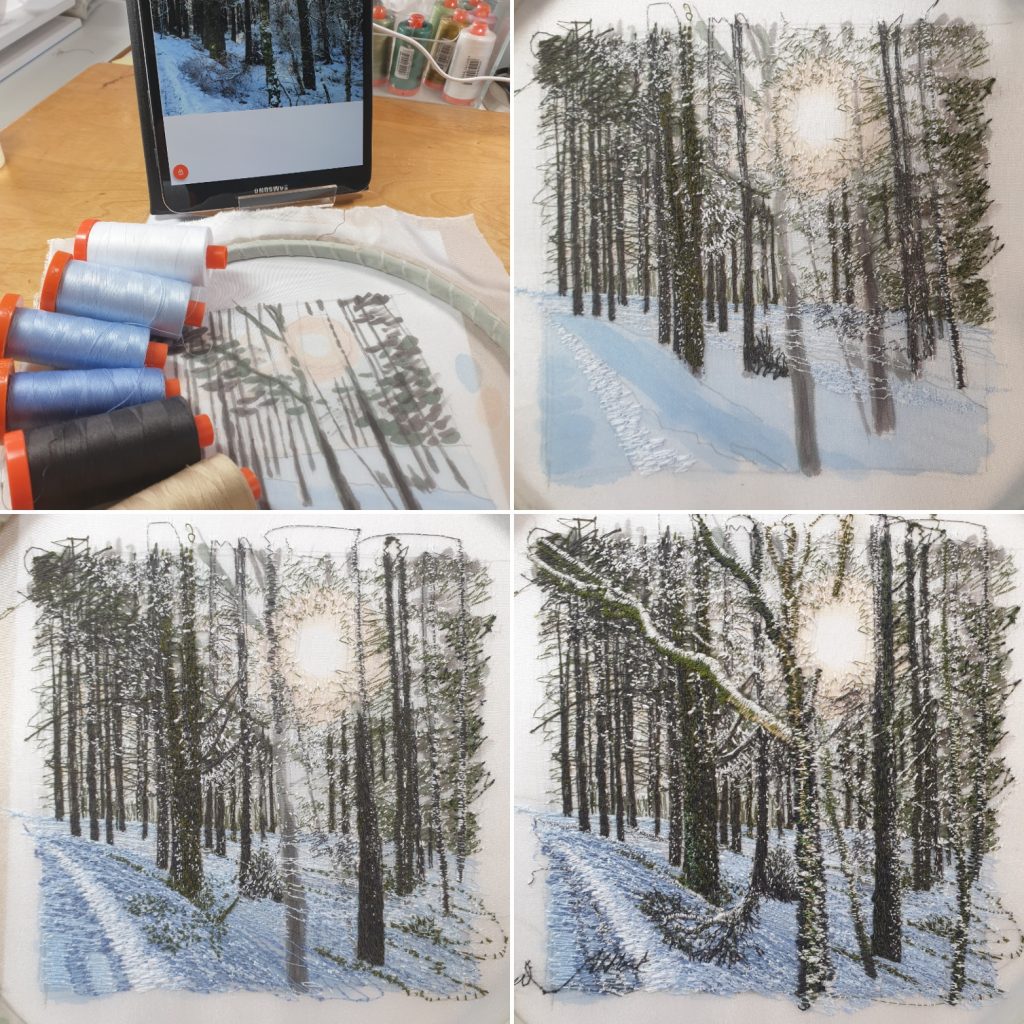
I have worked with a series of straight stitches so far, drawing what I see in the background of the photograph. I then move forward to the foreground and start incorporating some zigzag stitch to give bolder, smoother marks for the snow and give perspective to the work.
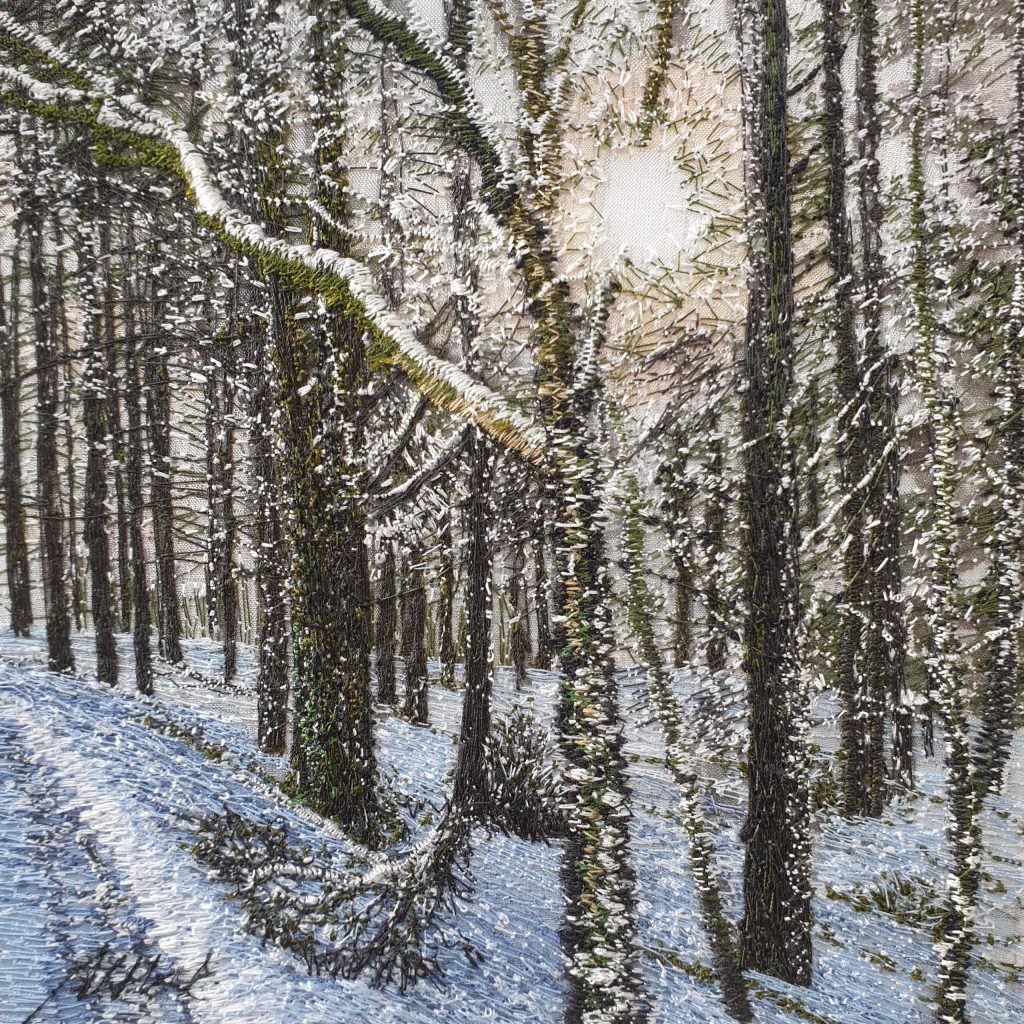
1. My reference photograph on my tablet for a constant reminder of colour, shape and texture. 2. I have added some tree tunks. 3. Moving to the middle distance and working some snow on the ground and a few more tree trunks. 4. Finally to the foreground with zigzag for the snow speckled textured trunk.A finishing touches like decreasing the size of the sunlit “hole” and its complete. This embroidery has the classic limited pallette, I only used 9 colours of 50 weight Aurifil mako. They are beautiful shades and quality to work with. I love the way it looks like it snowing!
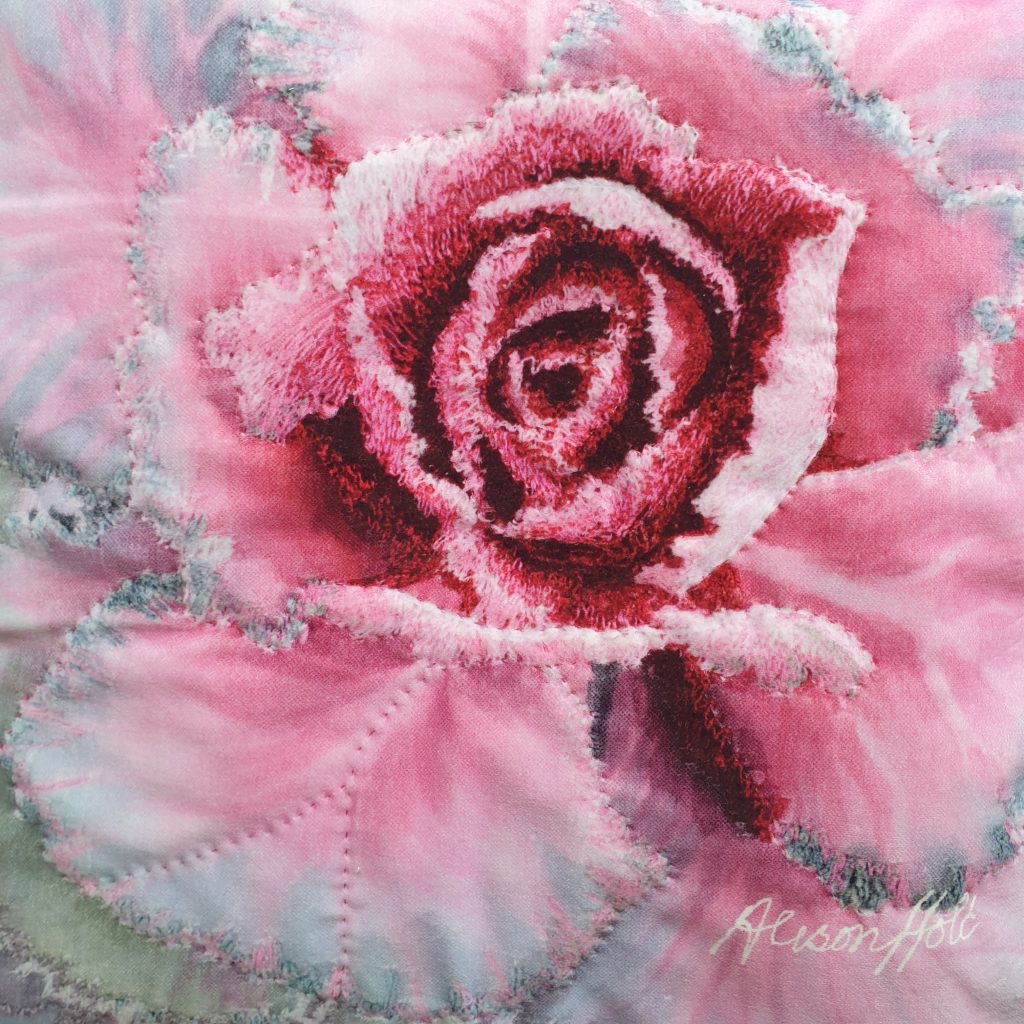
You will know me as a machine embroiderer, but I was a hand embroiderer first of all, it was 30 years ago! One of the interesting aspects of working with Aurifil is some of the monthly challenges push me out of my comfort zone. This month was a hand quilting project and I used the opportunity to use one of my embroidery design velvet panels.
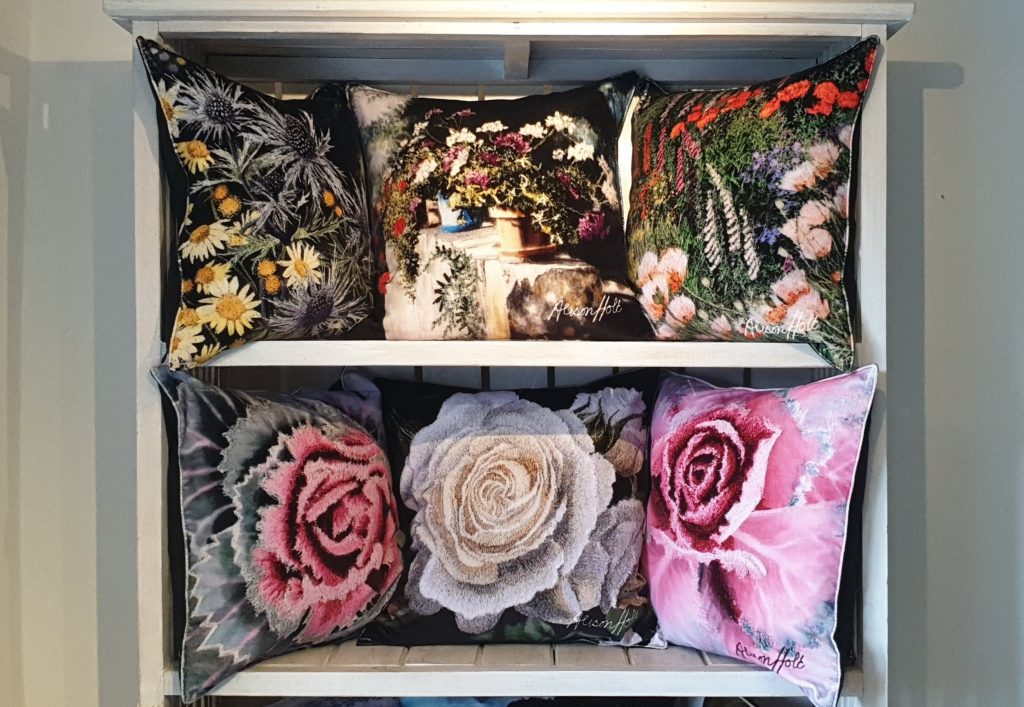
The original embroidery was 5 x 5 inches and the print sees this enlarged to 17 x 17 inches, the perfect size for a cushion or wall hanging. The detail and texture of the original paint and stitch shows up really well on this scale.
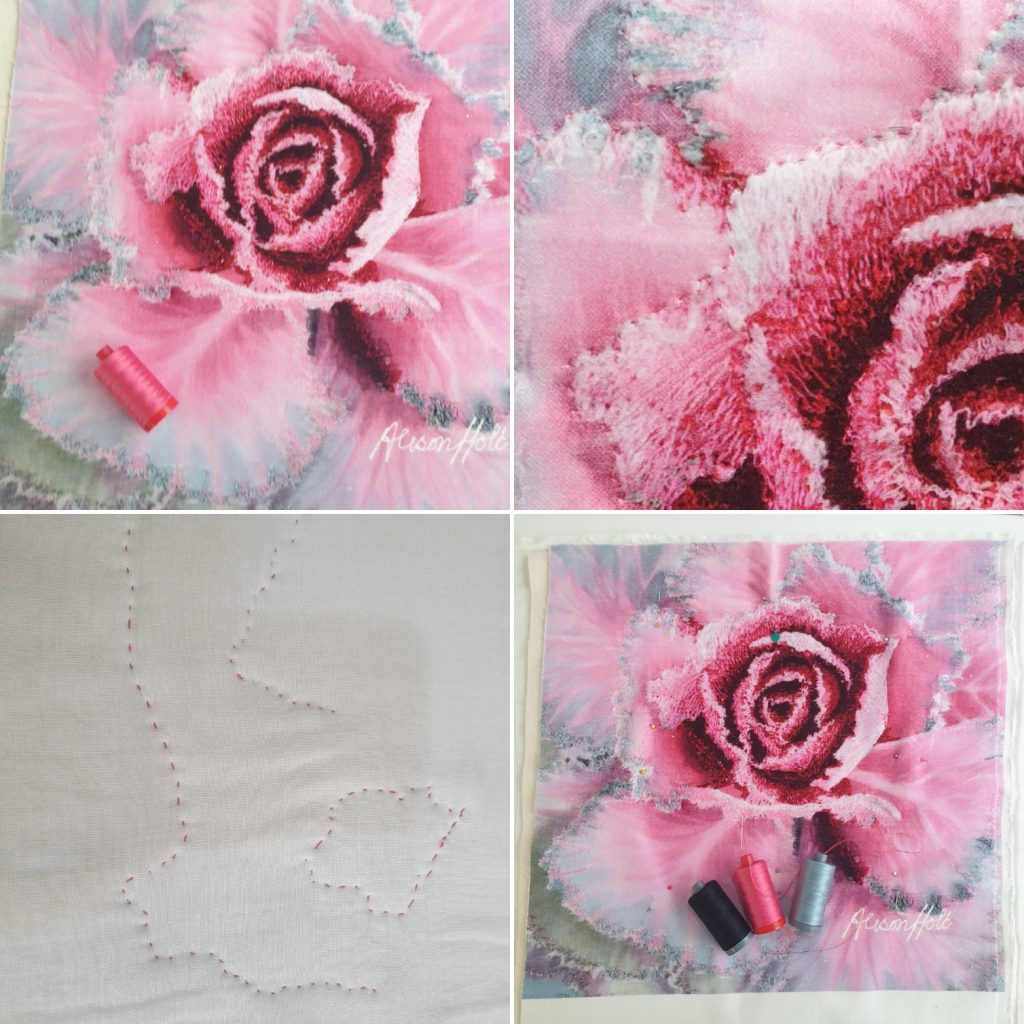
1. Choosing a thread 2. Hand quilting close up 3. The reverse 4. Thinking of adding more colours
I cut a 17 x 17 inch square each of soft cotton interlining and a medium weight muslin to make my “quilt sandwich”. I pinned them together starting in the centre and working my way out to the edges, then I was ready to start stitching. I used Aurifil 12 weight in the most beautiful fushia pink.
Hand quilting complete
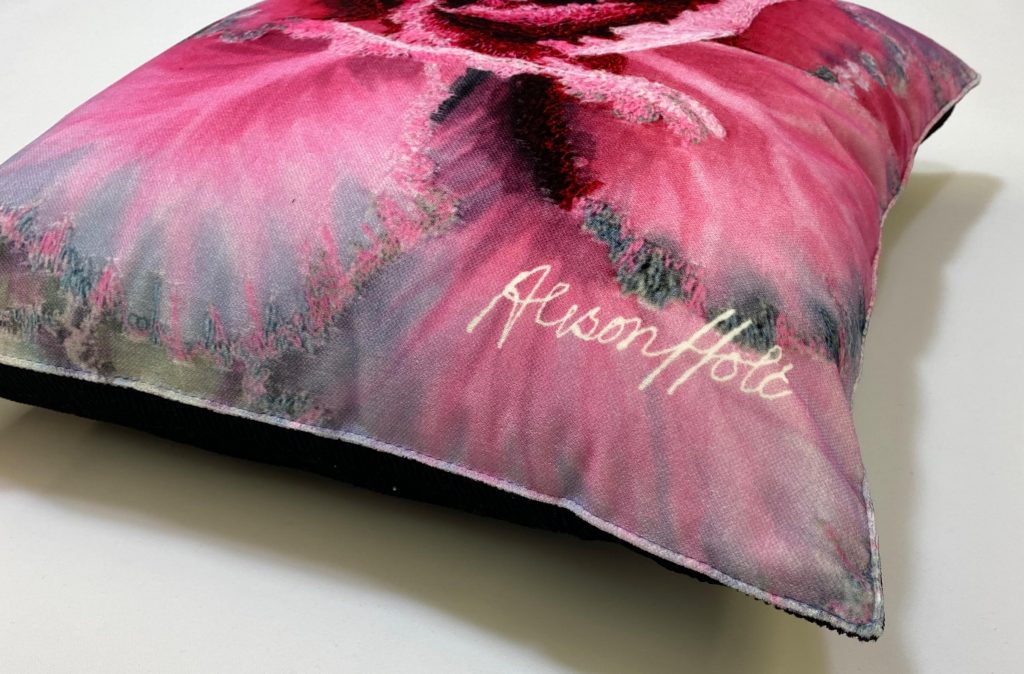
I decided to make it into a cushion and chose a dark grey velvet back panel and top stitched edges to make the design pop..
Completed cushion
I had forgotten how soft and pliable hand quilted pieces are. As tempting as using my machine is for speed I did enjoy the therapeutic aspect of hand stitching and the feel of the completed panel.
I felt an update was due to let everyone know how the last few weeks have been for me. If you read the previous blog post you will be up to speed on the #artistsupportpledge.
The support has been wonderful, thank you. My sales have continued thanks to collectors of my work in USA, NZ, UK and Europe. So lots of trips to the post office and perfecting my wrapping skills!
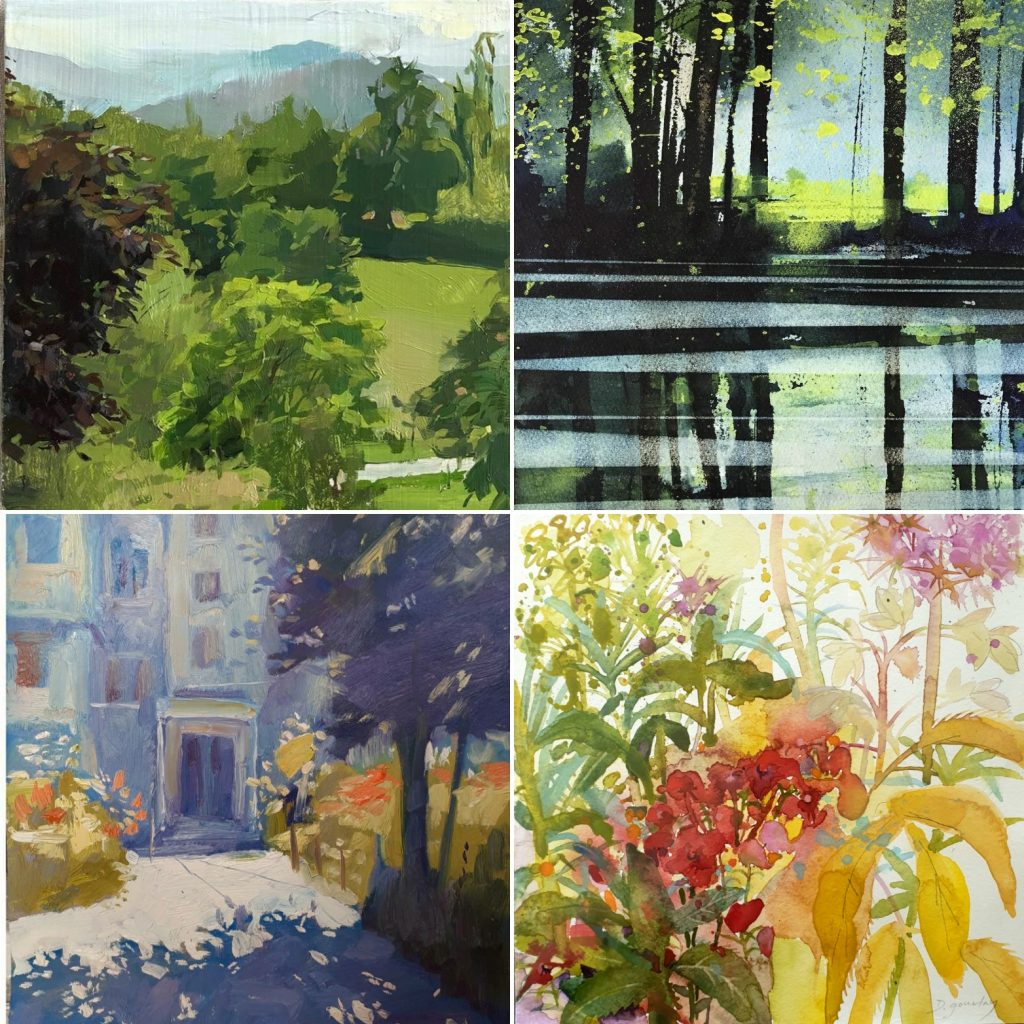
The other great part of the pledge is the promise to purchase artwork from another participating artist. I have linked up with artists all around the world following their work on Instagram. Here are the first few pictures I have bought.
The first purchase. An oil painting, The Brisoms by Steve Sherris an artist based on the Ilses of Scilly
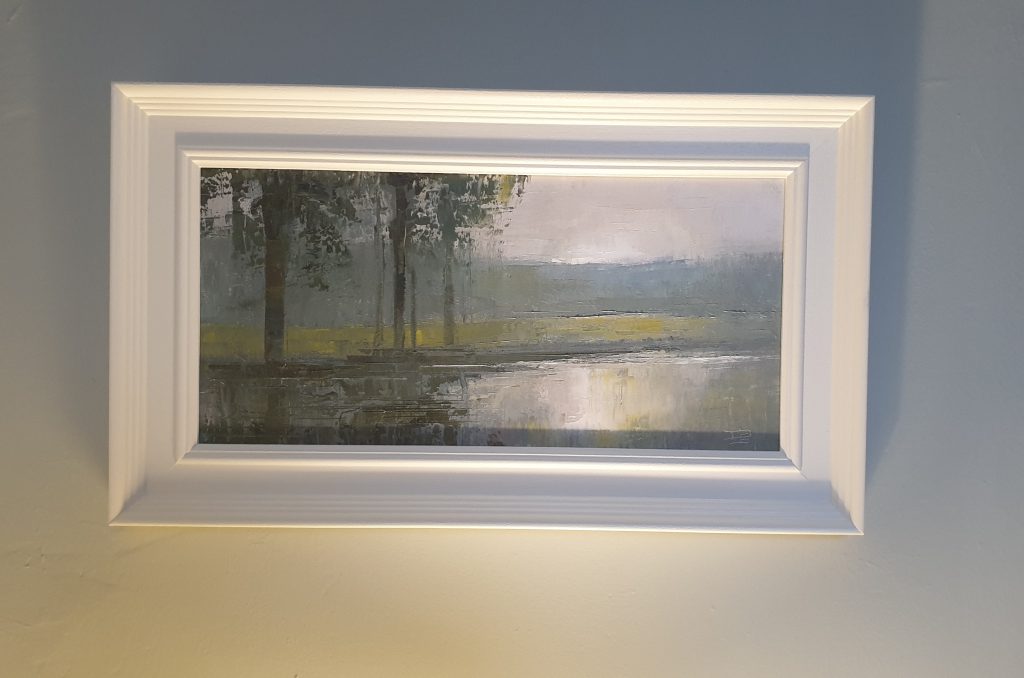
This is my second purchase, “Morning Light” by David Smith a UK artist. It hangs in our breakfast room and looks great especially in the evening lit by the lamp below.
I will continue with the pledge producing new pieces of my work with the incentive to be able to buy more from other artists but also grateful to have an outlet for my work during this time. It has become a joyous community of artists that have connected with each other through worrying times.
Clockwise top left- Oil by Christina Weaver.(USA) Watercolour by Sara Johnson. (UK) Watercolour by Deboah Gourley (UK). Oil by Sergiu Ciochina (MOLDOVA)
It is such a generous scheme, giving everyone access to original artwork at a fraction of the cost that artists normally sell for. Something to cheer us up until life gets back on track.
If you are tempted to buy take a look on my embroidery page on my website and look at the range of £200 or less embroideries on offer. I will be adding new ones regularly too.
Thanks again to all of you who have bought so far your support is much appreciated.